Need a little more direction?
Watch our tutorial


20 hr 0 min
20 hr 0 min

0 from 0 reviews

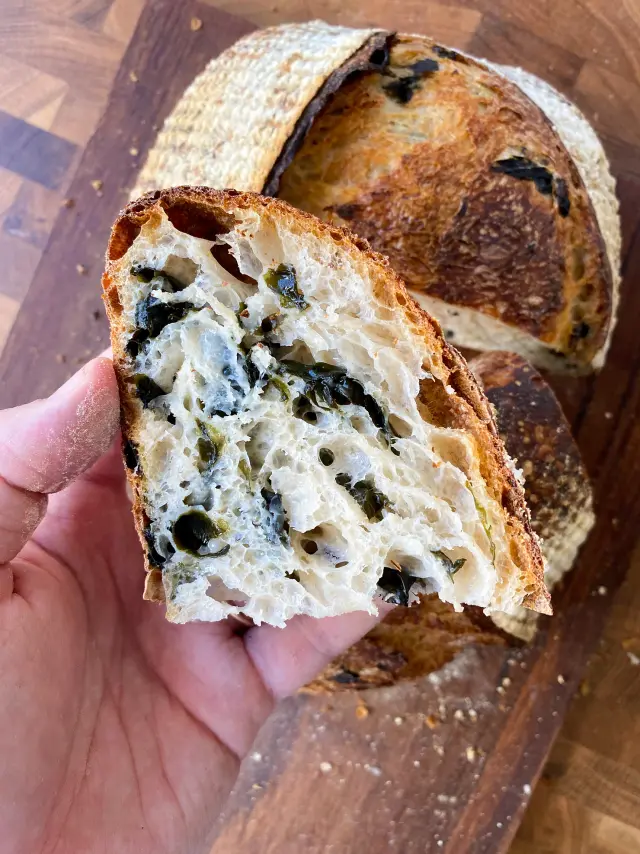
The first time I had seaweed bread was on my trip to Japan two years ago. Bread, especially sourdough, is quite new to Japanese cuisine. Japan is a maritime nation surrounded by the ocean and known for its rich sea life. Among the beautiful seafood, you can find an incredible variety of seaweeds. Wakame is a species of kelp native to cold, temperate coasts of the northwest Pacific Ocean. Wakame has a briny, salty, umami flavor, with a little bit of sweetness as well. It will taste of the sea, or at least evoke those notes, but without any fishiness. It’s a very particular bread and I encourage you to give a try. Goes incredible as bread for a sandwich or simply toasted than topped with butter. OH, Mamma!
Bowl
Proofing basket
Dutch oven
Parchment paper
Bread lame

Hydrate the wakame seaweed by simply soak them in cold water for 10-15 min. Drain the water out and weigh the seaweed. The amount of seaweed I refer to in the ingredients section is after they’ve been soaked.
In a bowl, mix the flour and water. Let it autolyze for 30 minutes covered with a towel. (In “autolyze,” the flour absorbs the water, becoming fully hydrated. This will activate gluten development).
Add the starter and fold it into the dough. Rest for 30 min.
Add the salt and a sip of water. Mix until all incorporated into the dough. Rest for 30 min.
Perform two coiled folds. 30 min rest in between.
Now we will add the wakame seaweed- spread a sip of water on the working surface, it helps prevent the dough from sticking to the surface.
Stretch the dough to a thin layer and spread the seaweed on top. Try to avoid adding their liquids as well. This step is known as lamination.
Fold the dough and place it back in the bowl.
Perform another 3 folds. 30 min rest in between.
After folding the dough another 3 times, let it rest for an hour before pre-shape.
Divide and pre-shape- round the dough to a beautiful, tight ball. 15-20 min rest.
Shaping. Place in a proofing basket and let it rest in RT for an hour before you place it in the fridge to ferment overnight.
The next day, preheat your dutch oven to 470°F or 245°C for an hour.
Score the loaf directly from the fridge. Close the lid of the dutch oven and let it bake for 30 minutes.
Remove the lid and bake for another 20-30 minutes (depends on how you like your crust).
Let it cool on a rack for an hour before you slice it!
YASSS!
Watch our tutorial


write your comment