Need a little more direction?
Watch our tutorial


3 hr 30 min
3 hr 30 min

0 from 0 reviews

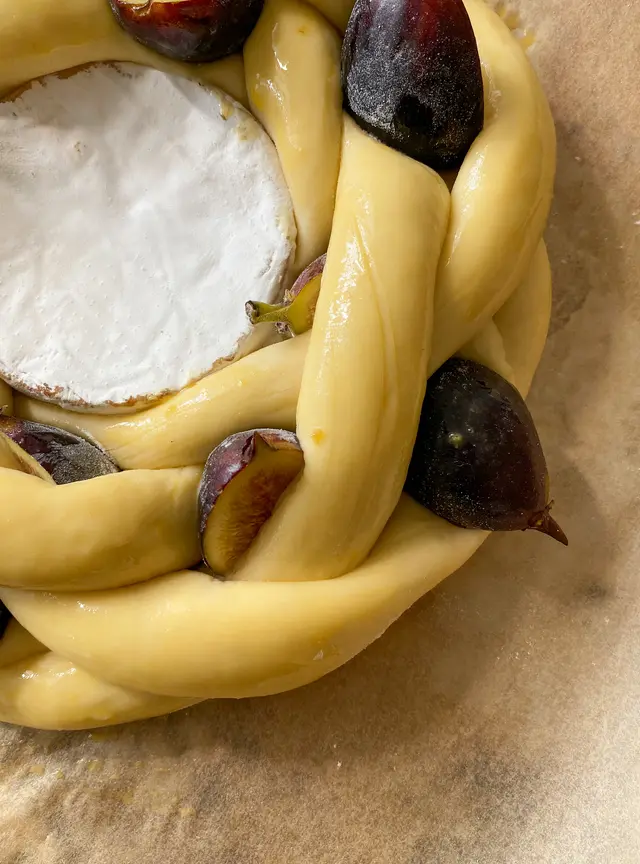
The only way this challah is deserved to be eaten is straight right from the oven so the Brie Cheese is gooey for you to dip in!! What I like about this challah is the technique you guys can incorporate any add-in to your braiding. Place a soft cheese in the center, braid a round challah around it, and add the add-ins in every round of braiding. In that way, you won’t destroy the braids and the add-ins will be placed correctly and won’t fall. Once the challah gets out of the oven, drizzle honey on top, sprinkle some coarse sea salt and dip the challah in the cheese. The combo of the figs, honey, salt and cheese is out of this world! That’s the challah to serve this holiday lovers!!
Baking tray
Bench knife
Parchment paper
Kitchen brush
Mixer
Scraper

Sub-recipe 1:
Prepare the challah dough as explained in the “Classic Challah Recipe”.
The recipe will yield two small challahs or one big. The size of your cheese will dictate how we decide to divide the dough. If it’s a small cheese- divide the dough into 8 equal pieces, and braid the challah with 4 of them. If it’s a big cheese- divide the dough into 4 equal pieces.
On a baking tray with parchment paper, place the brie cheese in the center.
Place the strands crisscrossed around the brie cheese.
Lift one strand and place the strand that was below on top of it.
Repeat the same thing with the opposite corner.
Place a half fig in each corner where the braids cross.
Now we start to braid. Moving clockwise around the challah, each strand that is placed under another strand is crossed on top of the near one that is placed on top of another strand (watching the video will make it much easier for you).
Once we finish a full round, place another half fig in each corner where the braids cross.
Repeat the braiding and the fig placing until the strands get too short and hide the edges underneath the challah.
Let the challah proof until doubled in size. Keep the challah covered through the proofing process so it won’t dry out.
Preheat the oven to 390°F or 195°C.
Brush the challah with an egg wash. After 10 minutes- brush again. Two brushings will result in a darker challah (I like my challah dark).
Bake the challah for 15-20 minutes.
Take out from the oven, drizzle honey, sprinkle sea salt, and some oregano leaves.
Eat while still warm and dip in the cheese in the middle.
YASSS!
Classic Challah
In a small bowl, mix water, yeast, and sugar. Stir well and let it sit on the counter for 10 minutes. In that step, we activate our yeast. If not blooming after 10 minutes, it means that your yeast probably died.
In your mixer bowl, add the ingredients from previous step and add the egg. Stir well.
Add the flour to the mixer bowl and don’t stir.
Pour the olive oil on top.
Set the mixer on lowest speed and start mixing for 4 min until we get a homogeneous dough.
Change the mixer to a higher speed, only one level faster than the slowest one. We don’t want to stress our dough. Work the dough in that speed for 5 min.
Add the salt.
Keep kneading for 3 min. Total kneading of the dough should be 12 min.
Round the dough and place in an oiled bowl to proof. Cover with a towel to avoid the dough from drying out.
After doubled in size, divide the dough to the desire amount of strands you want.
Using this recipe, lets understand how to divide the dough.
2 Challahs of 3 strands: Divide to 6 balls of 150 gr.
2 Challahs of 4 strands: Divide to 8 balls of 110 gr.
2 Challahs of 5 strands: Divide to 10 balls of 90 gr.
1 Challah of 6 strands: Divide to 6 balls of 150 gr.
1 Challah of 7 strands: Divide to 7 balls of 120 gr.
1 Challah of 8 strands: Divide to 8 balls of 110 gr.
Round each piece to a perfect sealed ball. Place them 2 inches apart and cover with a towel. Let them rest for 10-15 min.
Flattening each ball to a pita shape, start to roll the top towards you creating a sausage shape. In this way we avoid air pocket in the strands. We want our challah to be with no holes inside.
Open the strands in a way that the edges are slightly thinner than the center of the strand. It will result in a beautiful and easy-going braiding.
When the strands are ready to be braided- flour them gently. This way the will stay separate from each other when being baked.
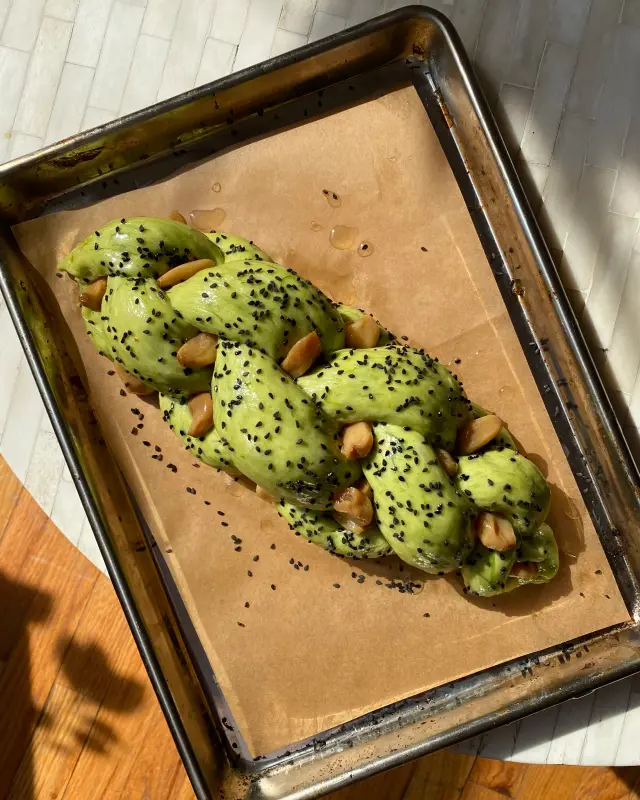
Attach the top of all the strands together and start to braid.
Cover the braided challah with a towel and let it proof. You know it is ready to be baked when you touched the strands (gently!!!!!) and it bounced back slowly.
Brush with egg yolk mixed with a sip of water. Don’t make a pool of egg on the challah. Light Brushing. We don’t want an omelette on our bread!
Watch our tutorial


write your comment