Need a little more direction?
Watch our tutorial


4 hrs

3.9 from 14 reviews

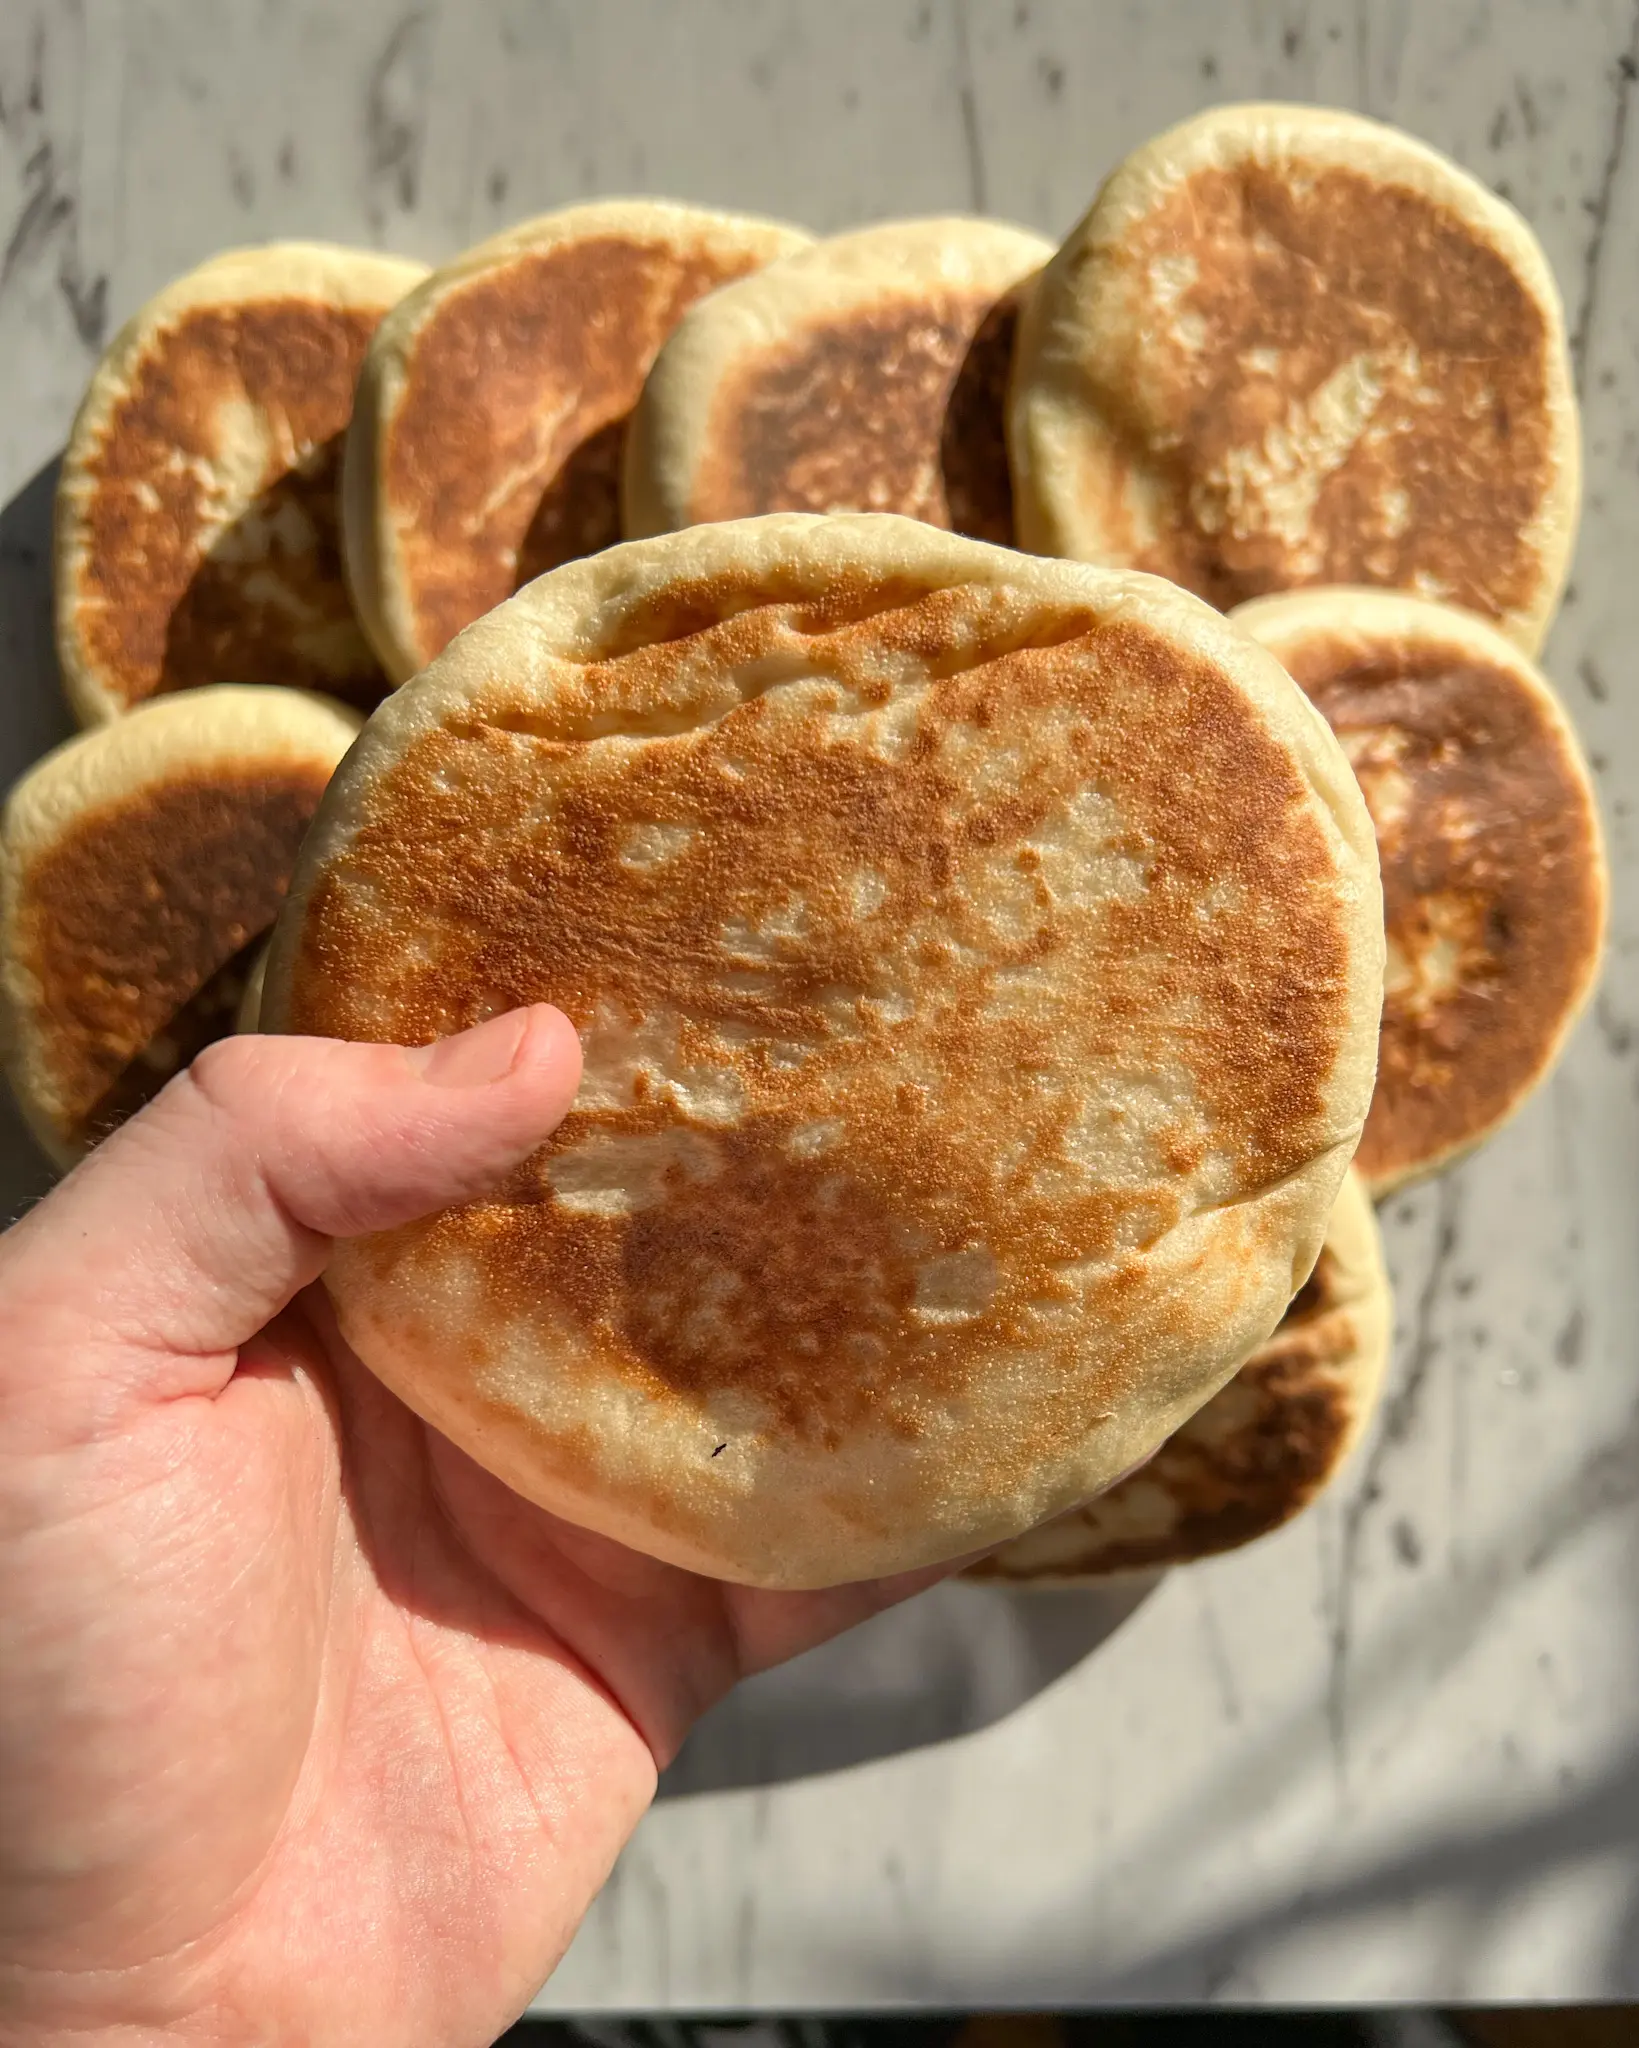
Pita. I consider pita as one of the most modest bread in the world. It doesn’t required anything besides the ingredients themselves. No oven, No mixer. So simple that sometimes I ask myself why to buy and not just making them? This recipe is extremely easy, leaves no excuses not to do it right when you finish reading it. I usually use a flour mix of white & whole wheat. Personally I prefer the taste with the whole grain flour, but you can go with white flour only!

In a bowl mix the water and yeast. Add sugar and mix well.
Add the flour and mix all ingredients until there is almost no flour remaining in the bowl. Add salt. Move the dough out of the bowl and knead it on a work surface.
Knead dough manually for about 7 to 10 minutes until smooth and sexy. If the dough is dry, feel free to wet your hands and the flour will absorb easily.
Round and place the dough in a bowl and cover with a towel. Let the dough rest until nearly double the volume.
Divide into 100-120 gr pieces. Round each piece into a perfect tight ball and let sit for 10 min, covered with a towel.
With a rolling pin open the Pitas to 0.5 cm thick. Place the Pitas to proof on a towel for 20 minutes.
Heat a large strong pan over medium heat for 3-5 minutes. Lower the heat to low-medium and bake the pita on the side that touched the towel before.
After 10 seconds turn to the other side. Another 10 seconds and turn back. And this is how you play with the Pita until you get a stunning pocket.
Move the pita to a basket / bowl covered with a towel that will avoid the Pita from drying and hardening.
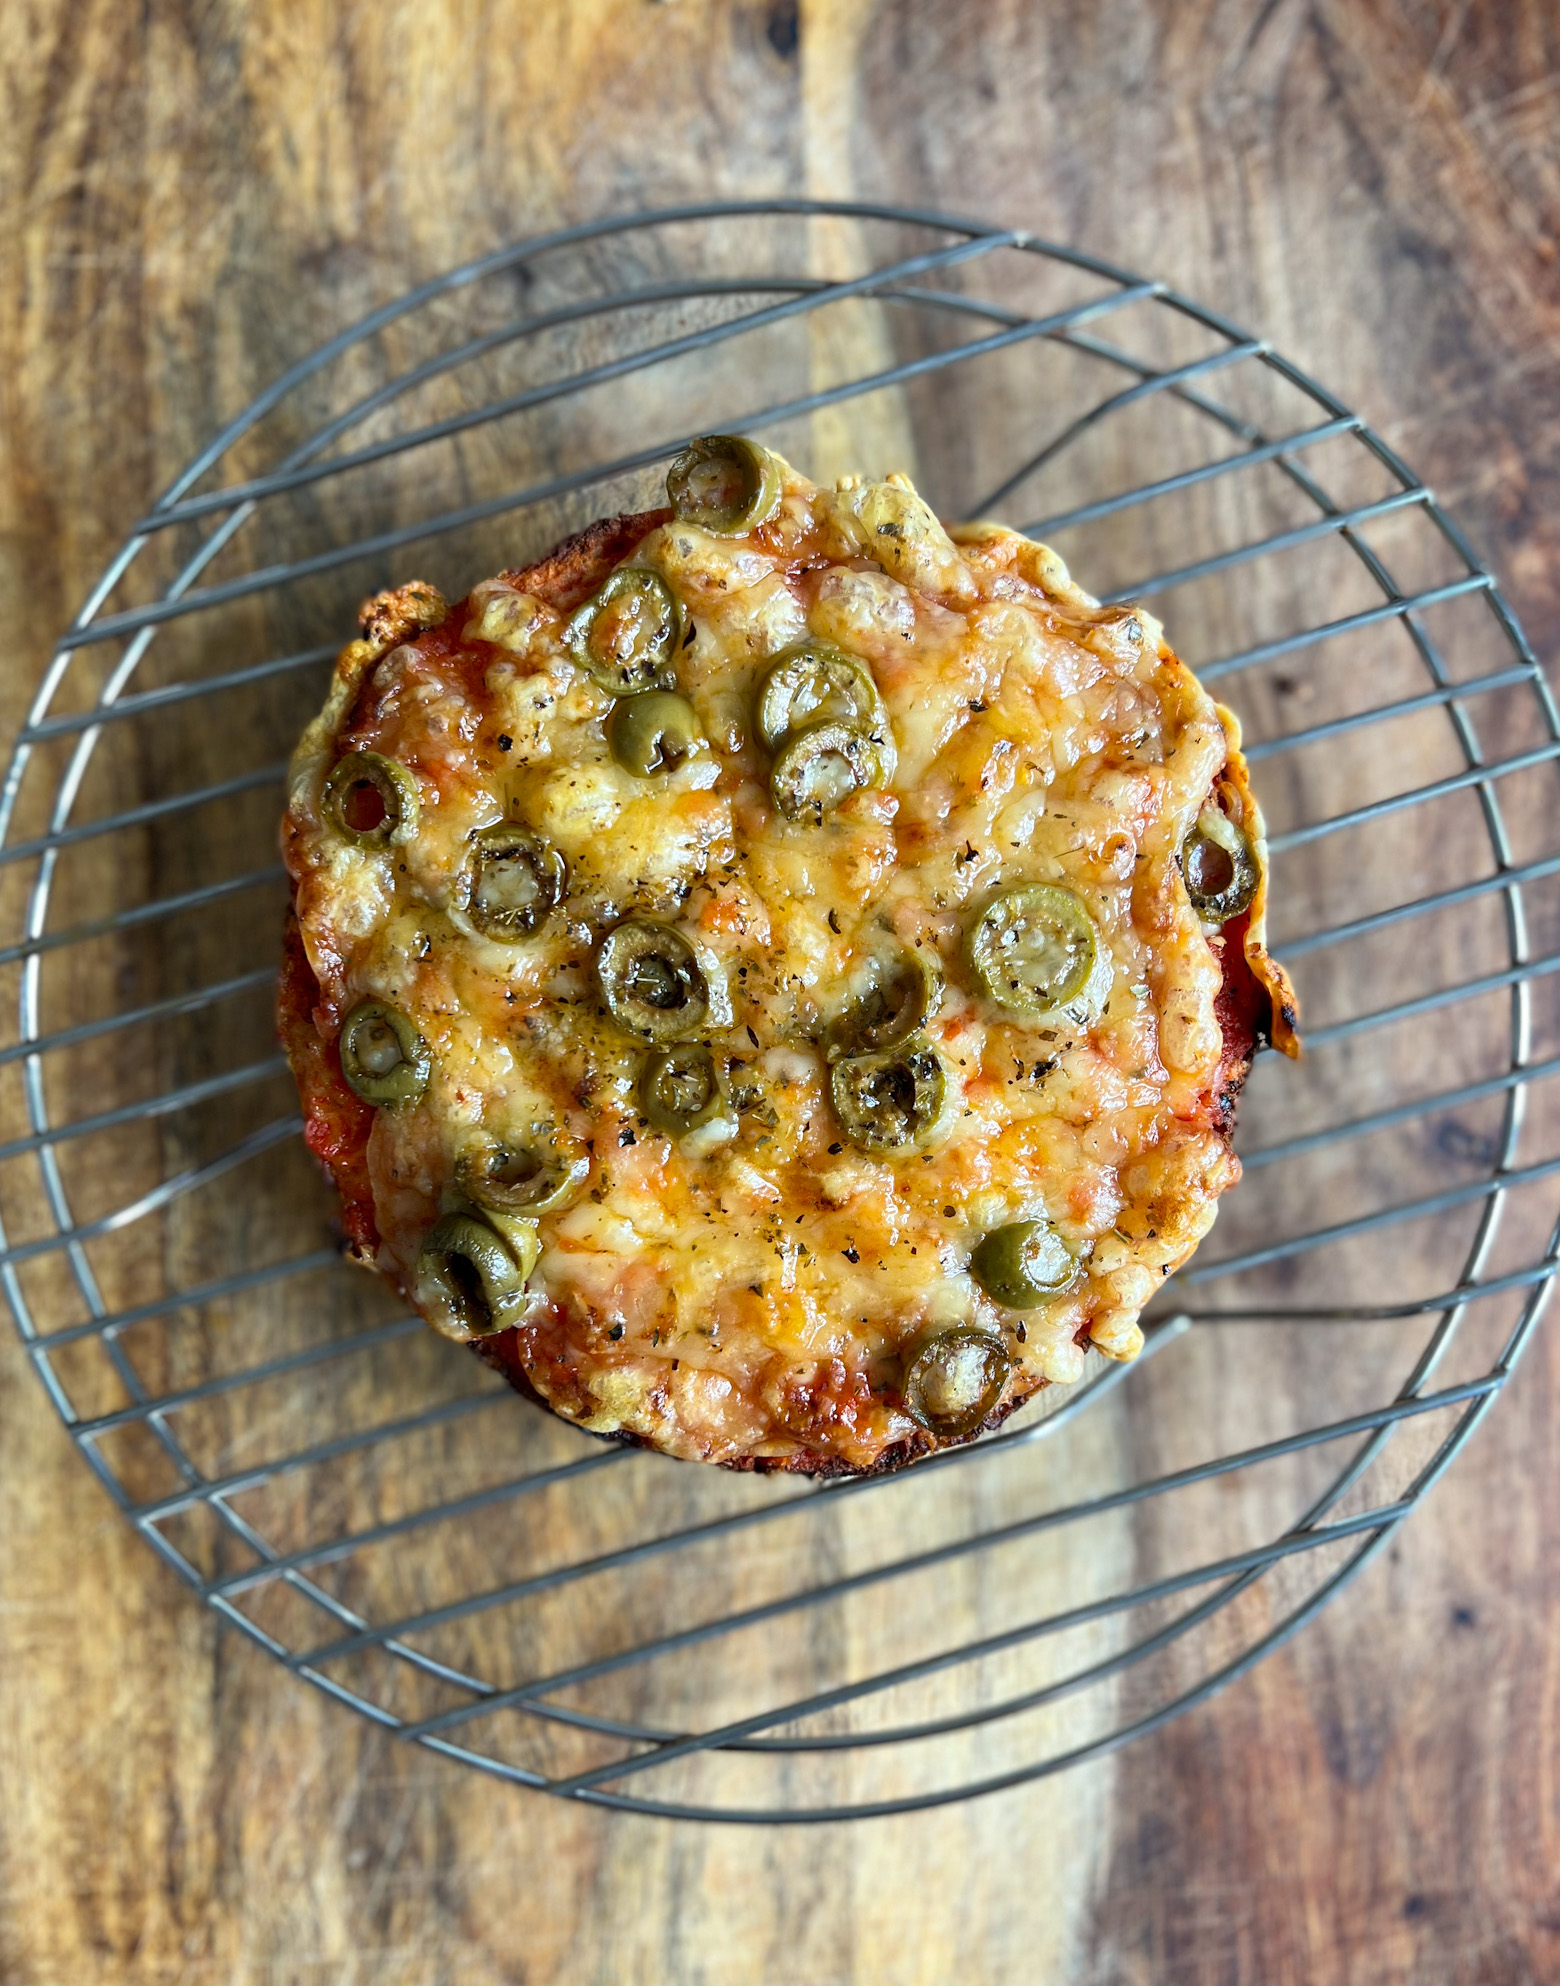
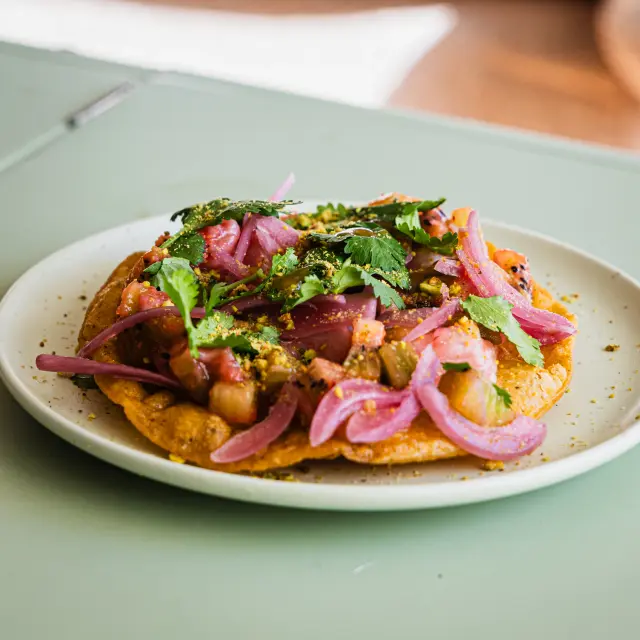
Fill the pita with any good and send me a pic!
YASSS!
Watch our tutorial


write your comment