Need a little more direction?
Watch our tutorial


3 hrs 30 min

5 from 2 reviews

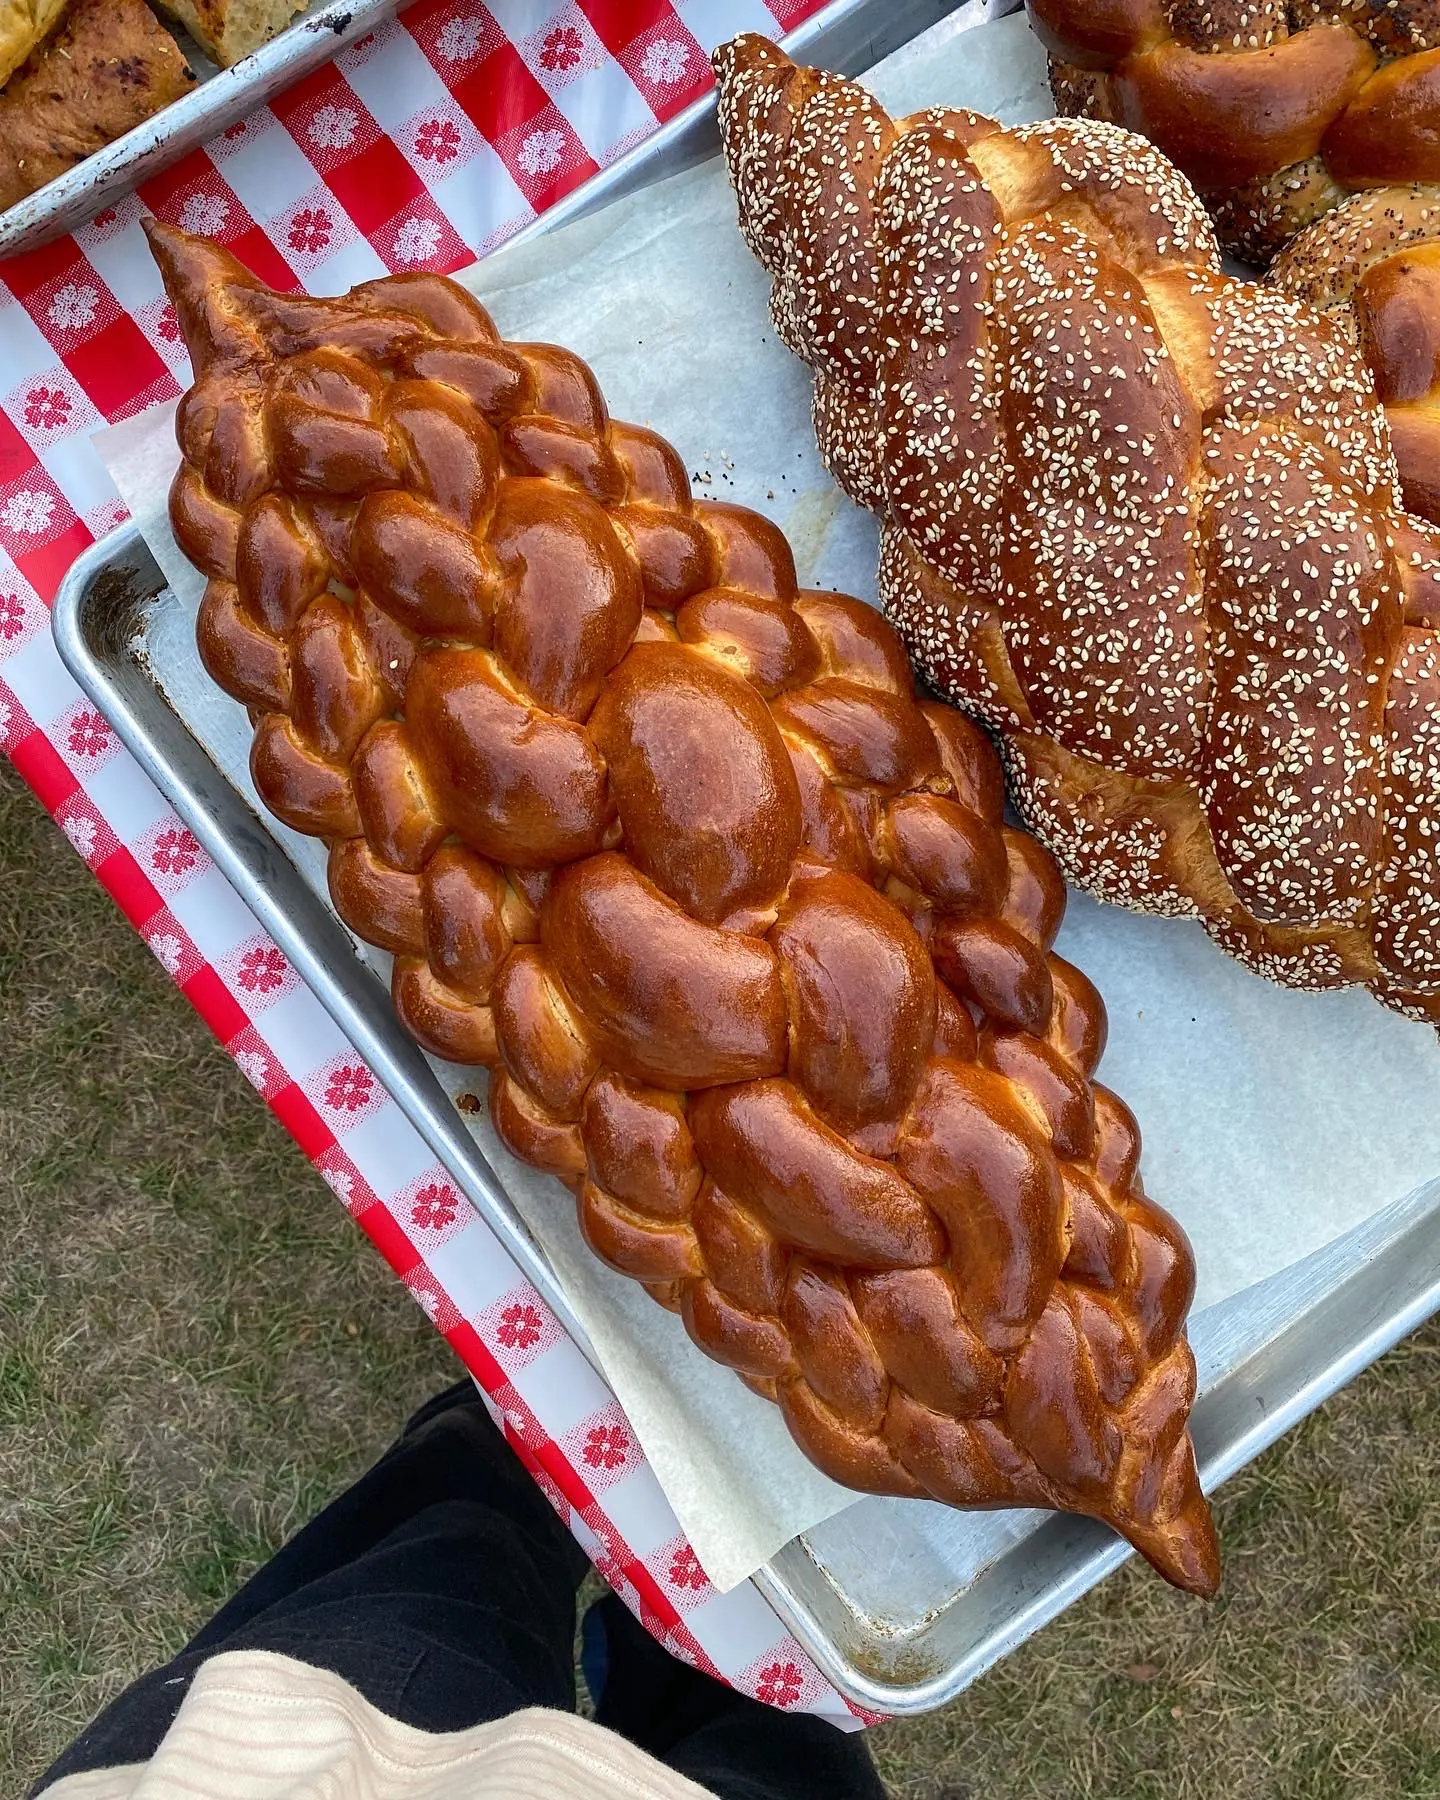
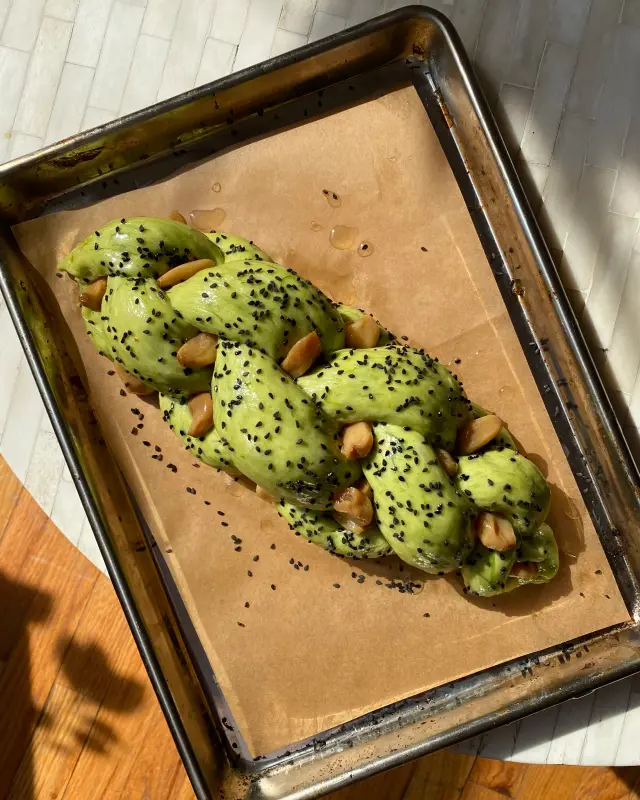
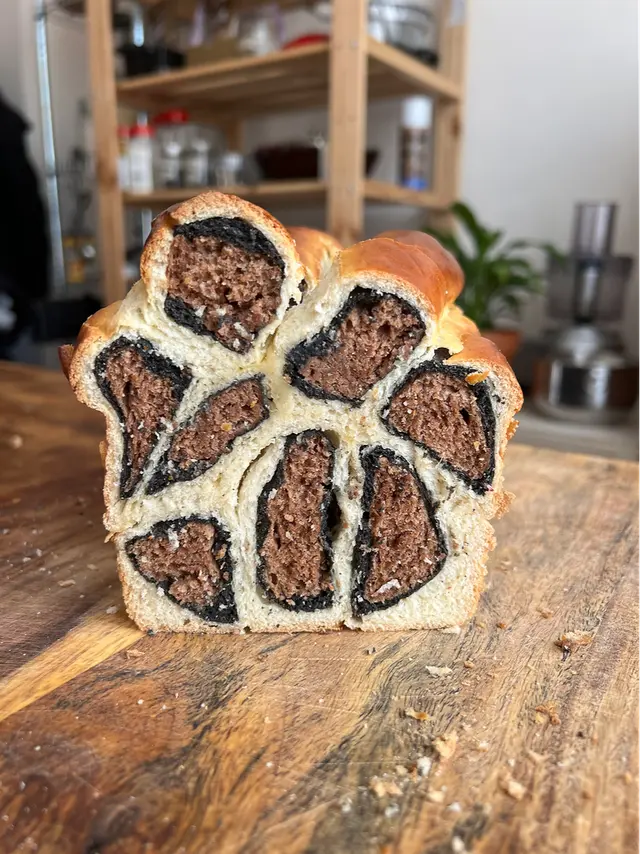
CHALLAH. What a queen. I’m pretty sure it is the best bread on the planet. Soft spongy white bread, goes amazingly as a French toast, to dip in any sauce, as a sandwich or just as is. The preparation process is quite simple, but requires attention to details. Here I gonna share with you an easy recipe everyone can make at home. The toppings for the challah are up to you guys, let yourself be creative. And braiding? we will go through it in the next posts! After you discover this recipe you will never go back! So…. Shall we?

In a small bowl mix water, yeast and sugar. Stir well and let it sit on the counter for 10 min. In that step we activate our yeast. If not blooming after 10 min it means that your yeast probably died.
Add the egg and stir well.
Add the flour. Pour the olive oil on top (don’t stir).
Set the mixer on lowest speed and start mixing for 10 min.
Add the salt. Keep kneading for 2-3 min (total kneading time should be 12-13 min).
Round the dough and place in an oiled bowl to proof. Cover with a towel to avoid the dough from drying out.
After doubled in size, divide the dough to the desire amount of strands you want: Using this recipe, lets understand how to divide the dough:
2 Challahs of 3 strands: Divide to 6 balls of 150 gr | 2 Challahs of 4 strands: Divide to 8 balls of 110 gr | 2 Challahs of 5 strands: Divide to 10 balls of 90 gr | 1 Challah of 6 strands: Divide to 6 balls of 150 gr | 1 Challah of 7 strands: Divide to 7 balls of 120 gr | 1 Challah of 8 strands: Divide to 8 balls of 110 gr
Round each piece to a perfect sealed ball. Place them an inch apart and cover with a towel. Let them rest for 10-15 min.
Flattening each ball, upside down, to a pita shape, start to roll the top towards you creating a sausage shape. In this way we avoid air pocket in the strands.
Open the strands in a way that the edges are slightly thiner than the center of the strand. It will result in a beautiful and easy-going braiding.
When the strands are ready to be braided- flour them gently. This way the will stay separate from each other when being baked.
Attach the top of all the strands together and start to braid.
Cover the braided challah with a towel and let it proof on the baking tray (with a parchment paper on). You know it is ready to be baked when you touched the strands (gently!!!!!) and it bounced back slowly.
Brush with egg yolk mixed with a sip of water. Don’t make a pool of egg on the challah. Light Brushing. We don’t want an omelette on our bread! For a darker color, brush twice (5 min in between brushing).
Spread your desired toppings.
Bake in a preheated oven to 380F or 190C for about 25 min. If the top of the challah gets brown to fast, cover the top with an aluminum foil. You know the challah is ready when the internal temperature reaches 190F or 95C.
Once the challah is coming out from the oven, cover immediately with a couple of towels. The towels will keep all the steam that is coming out from the hot challah which will result in a super soft crust.
If you plan to eat it in the next few days- close in a plastic sealed bag once cooled down completely.
YASSS!
Watch our tutorial


write your comment