Need a little more direction?
Watch our tutorial


45 min
45 min

0 from 0 reviews

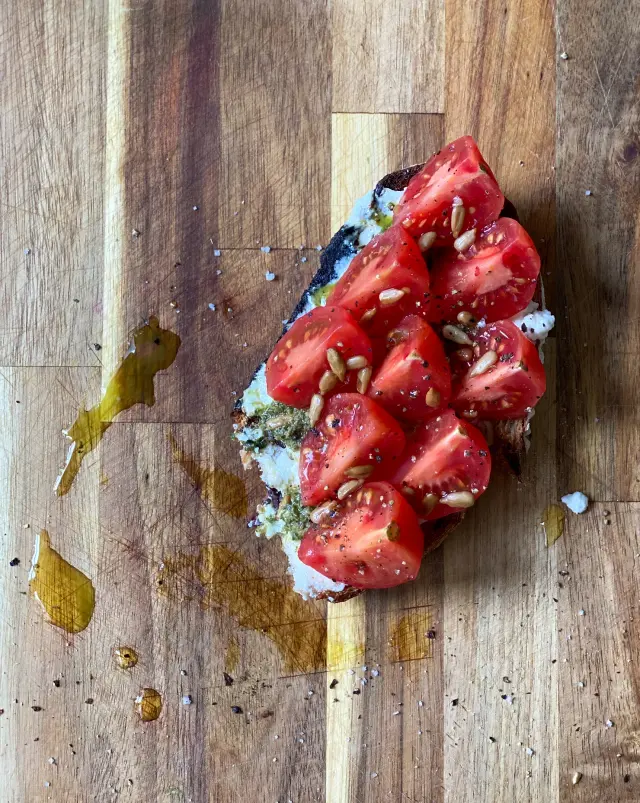
Ricotta- what a beautiful cheese. If you think about it as cheese. Ricotta in Italian means “recooked”, and it is originally made from cooked whey. Whey is the liquid that remains from cheesemaking. Then the whey needs to ferment for few hours to get more acidic. The low pH and the re-heating process denatures the protein and causes it to flocculate- forming a fine curd. This curd is your beautiful ricotta. So to make ricotta at home, we will do the whole process a little differently. Instead of using whey, we will use whole milk. We will heat it. Then we’ll add lemon to acidify the milk to form the curd (acid to coagulate whey protein from whey solution). Ricotta is a gorgeous cheese, super easy to make. You will be super proud of yourself once you made it. You should make it! The ricotta will keep refrigerated for 4 to 5 days. YASSS.
Pot
Container
Sieve
Cheese cloth
Thermometer

Pour all the milk into a pot. Stir in the salt.
Bring to a simmer (194°F or 90°C) over medium heat, stirring occasionally.
Once it gets to simmer, add the lemon juice and turn off the heat.
Mix a few seconds with a whisk and cover with a lid.
After 10 minutes, break the curd that has formed.
Place a bowl and a sieve on top. Cover the sieve with cheesecloth.
Pour the mixture into the cheesecloth and allow it to drain into the bowl at room temperature.
The longer you let the mixture drain, the thicker the ricotta will get.
After the mixture is drained, you can enjoy it immediately with a spoon; you can fill up some fresh pasta or let it sit overnight to form a cheese form. I love to put it in a tiny cheese mold to let it sit overnight in the fridge.
Enjoy it on a fresh sourdough toast.
YASSS!
Watch our tutorial


write your comment