Need a little more direction?
Watch our tutorial


4 hrs

4.7 from 3 reviews

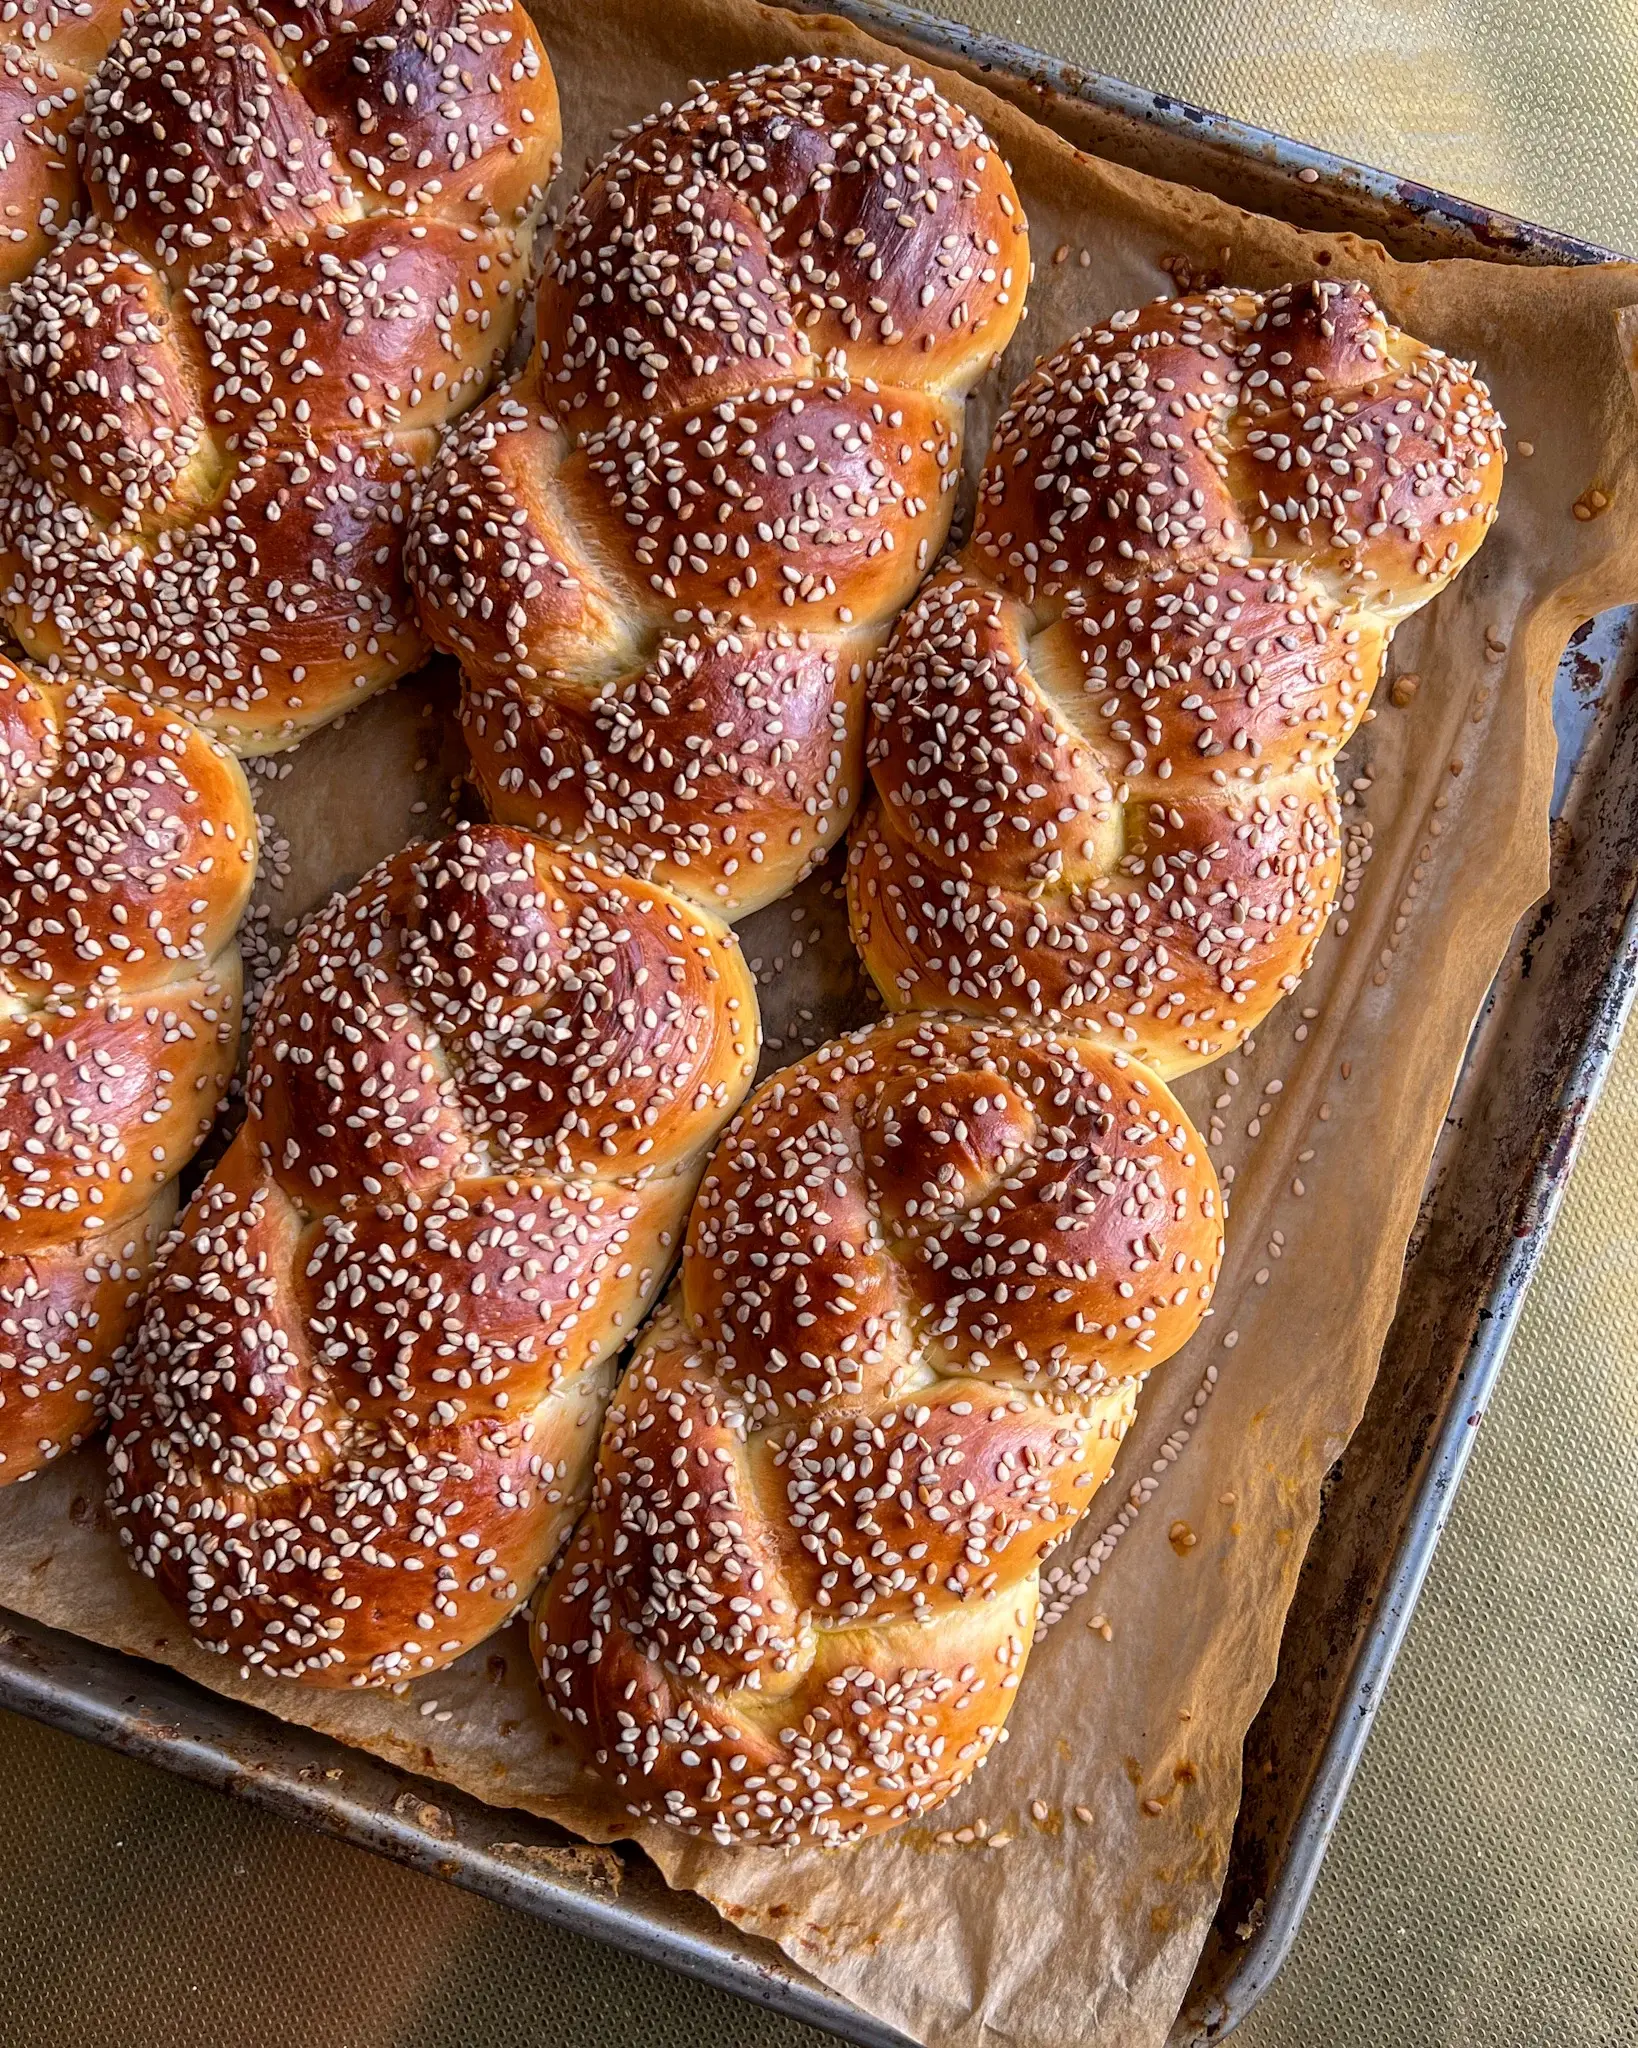
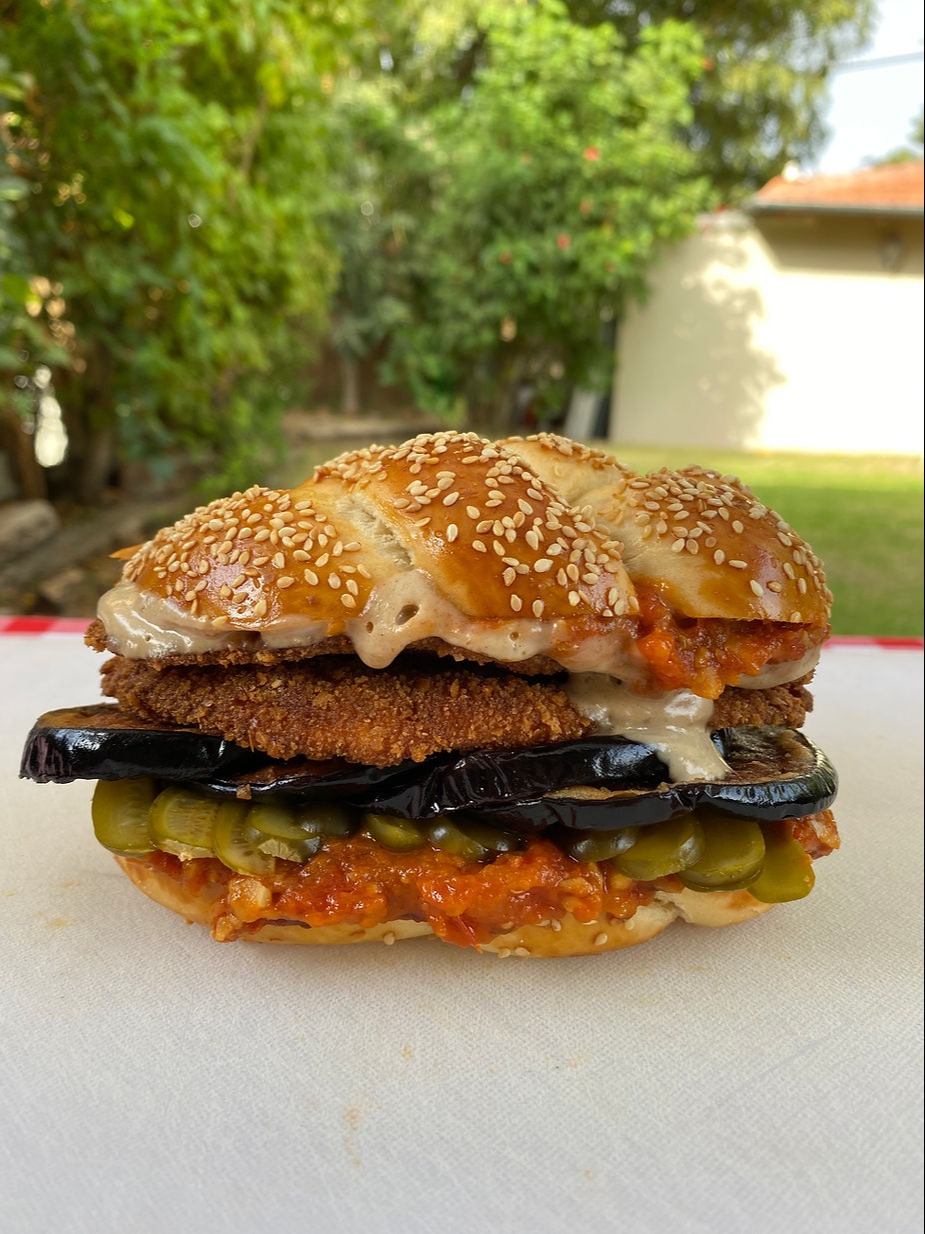
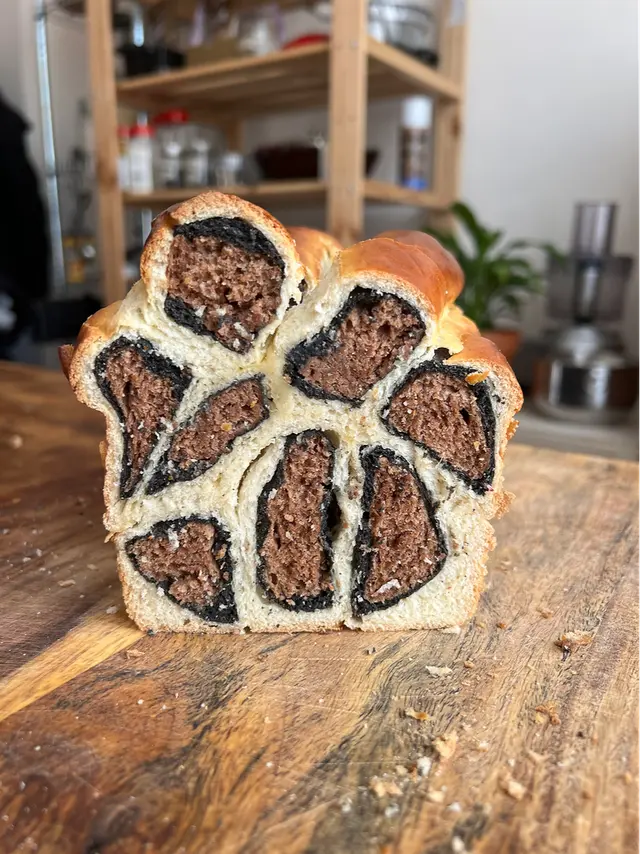
The perception that challah is a Shabbat bread, made and eaten on Friday to celebrate with family around the Shabbat table is accurate. Challah used to be a festive bread to mark the end of the week. It’s an enriched dough, meaning a basic dough with the addition of fat – oil (replaceable with butter) and eggs, providing the dough with a richer flavor and texture. Now, back to our mini challah story; mini challahs have always been my go-to bread for sandwiches after pita. They are available in any bakery in Israel throughout the week, unrelated to the specific day. While the big challahs typically make their appearance on weekends, the mini challahs shine as school sandwich heroes, stuffed with sour cream, omelette, and sliced veggies.
In a stand mixer’s bowl add water, yeast, sugar, egg, flour, olive oil and salt, in that order (don’t mix together, just add in that sequence).
Set the mixer on lowest speed and start mixing for 12-14 min.
Round the dough and place in an oiled bowl to proof. Cover with a towel to avoid the dough from drying out.
After doubled in size, divide the dough into 8 equal pieces (100-120 gr each).
Round each piece to a perfect sealed ball. Place them an inch apart and cover with a towel. Let them rest for 10-15 min.
Flattening each ball, upside down, to a pita shape, start to roll the top towards you creating a sausage shape. In this way we avoid air pocket in the strands. Let it rest under a towel while rolling all dough balls into a sausage shape.
Roll out into long strand, flour gently. This way the will stay separate from each other when being baked.
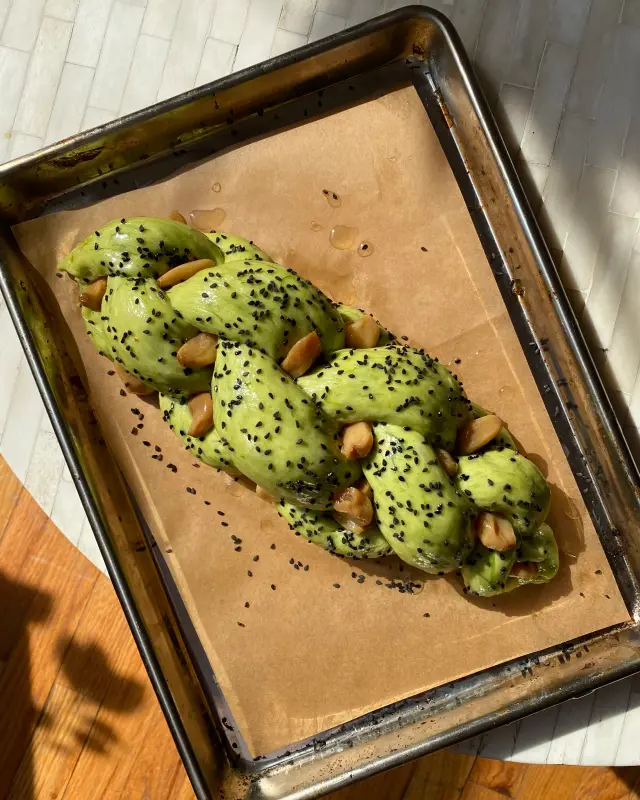
Braid.
Cover the braided challah with a towel and let it proof on the baking tray (with a parchment paper on). You know it is ready to be baked when you touched the strands (gently!!!!!) and it bounced back slowly.
Brush with egg yolk mixed with a sip of water. Don’t make a pool of egg on the challah. Light Brushing. We don’t want an omelette on our bread! For a darker color, brush twice (5 min in between brushing).
Sprinkle your desired toppings.
Bake in a preheated oven to 400F or 200C for about 15 min. If the top of the mini challahs get brown too fast, cover the top with an aluminum foil. You know the challah is ready when the internal temperature reaches 190F or 95C.
Once the challahs come out from the oven, cover immediately with a couple of towels. The towels will keep all the steam that is coming out from the hot challahs which will result in a super soft crust. If you plan to eat it in the next few days- close in a plastic sealed bag once cooled down completely.
YASSS!
Watch our tutorial


write your comment