Need a little more direction?
Watch our tutorial


0 from 0 reviews

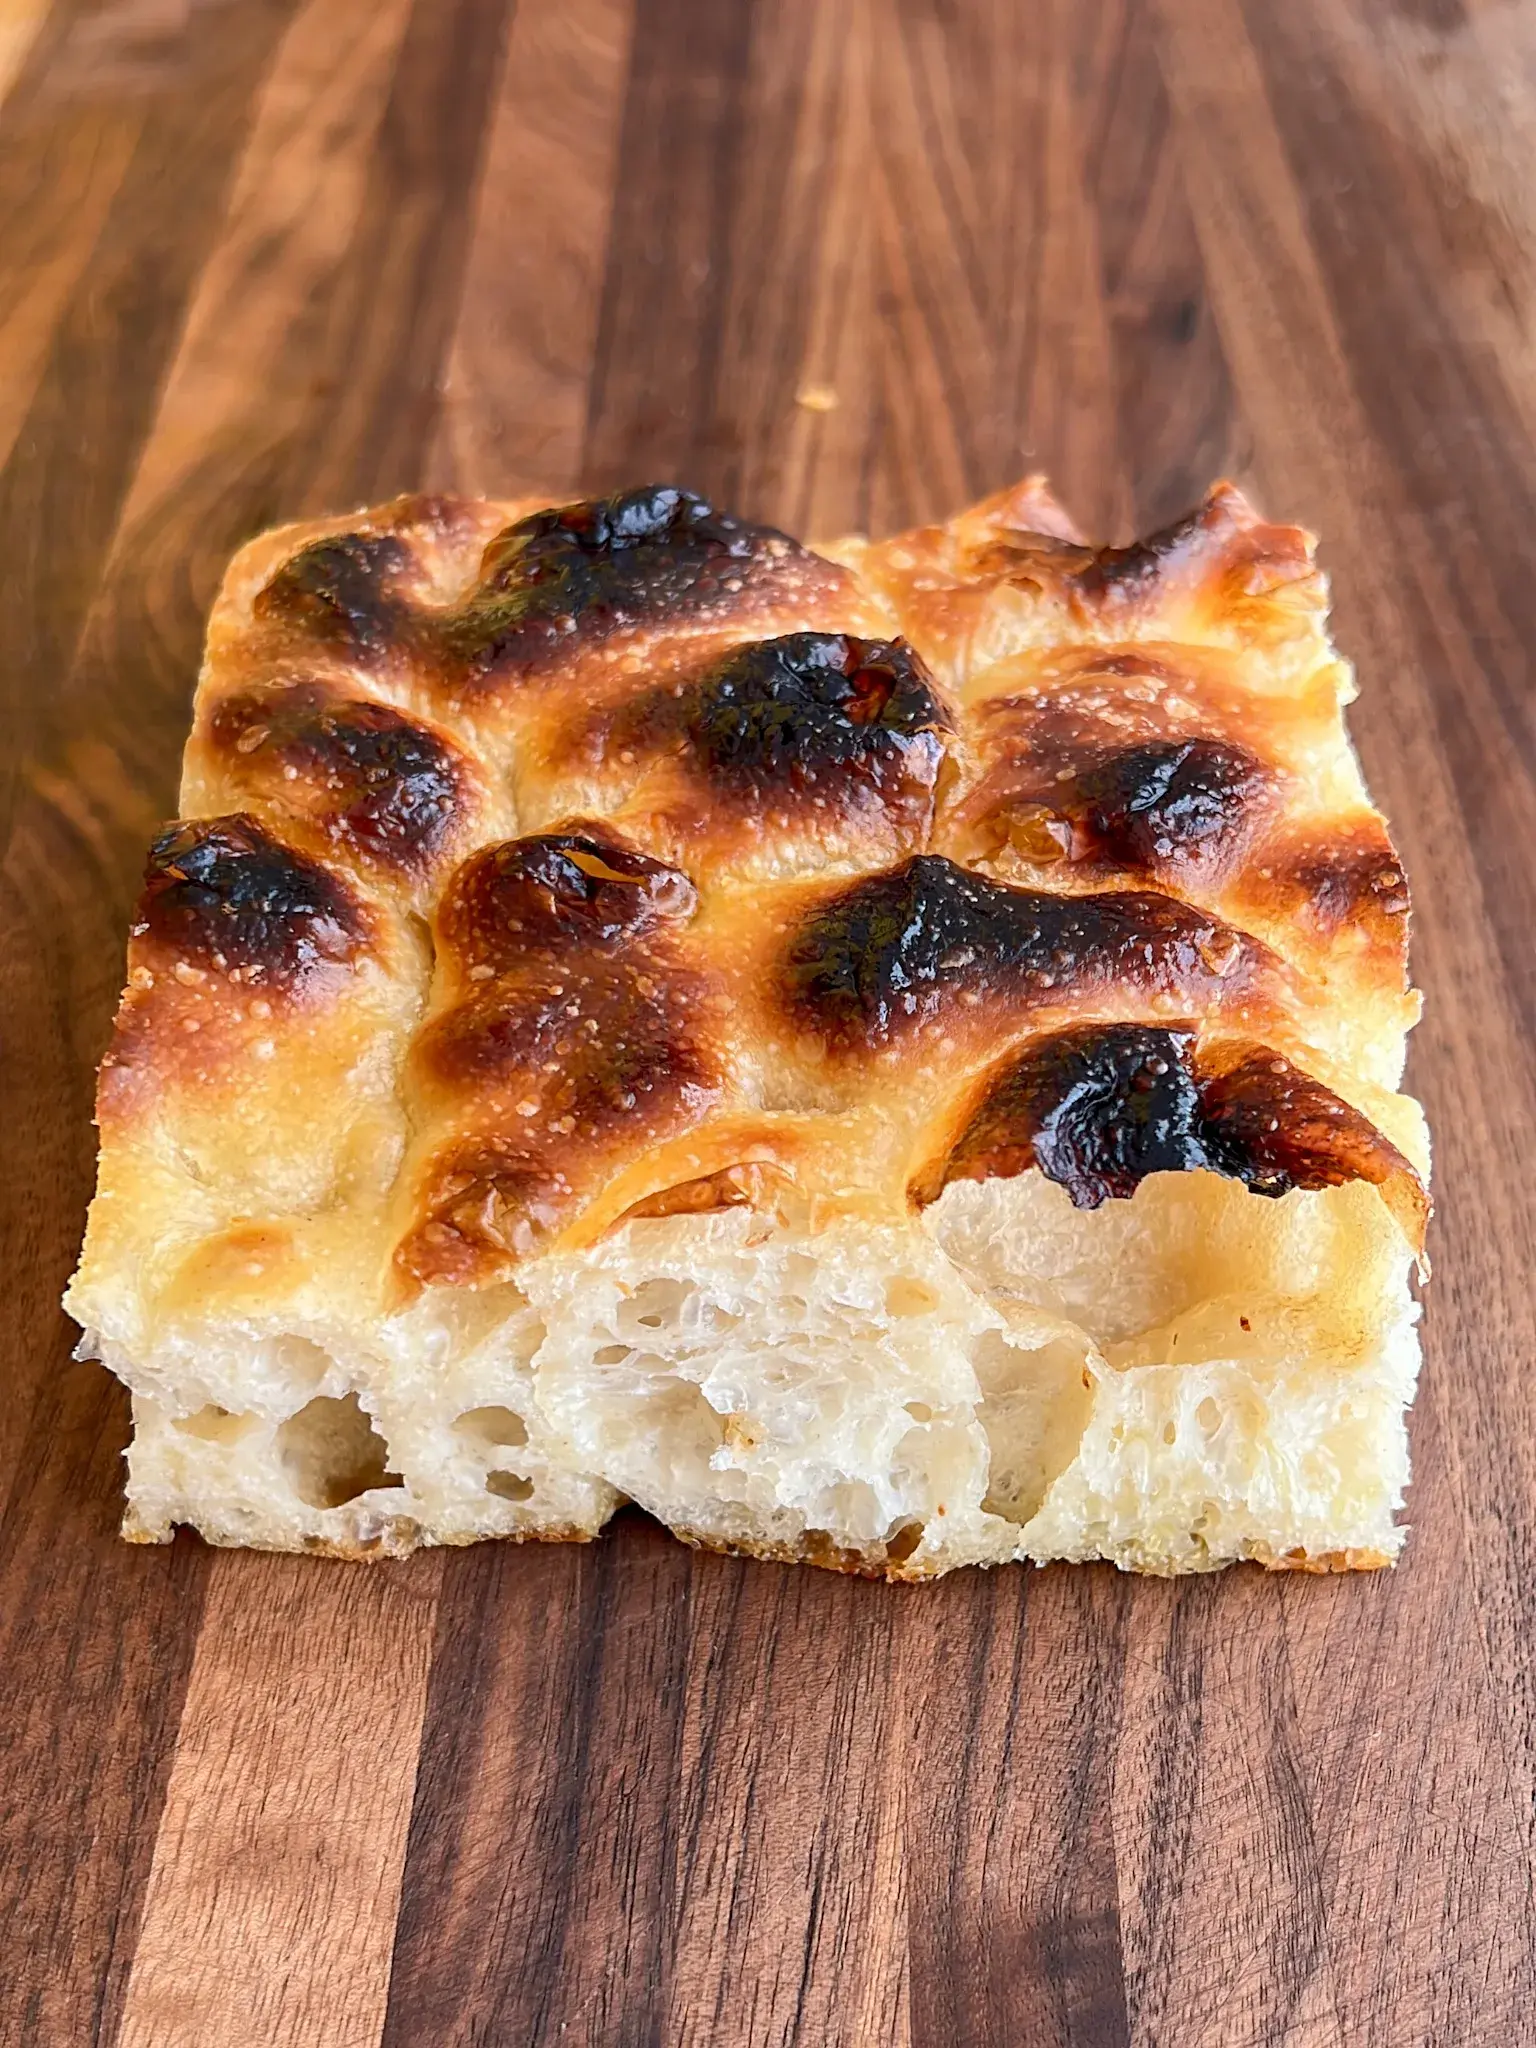
I’m often asked how to start with baking. And even though baking seems like an impossible kitchen task, it’s not such a crazy science as everyone makes it out to be. When I think about an easy, versatile bread recipe to recommend starting with, it’s focaccia. It’s a very forgiving dough, and considering it’s baked in a tray, you can’t go wrong. This spongy bread is both fun to make and to eat, with its thin crispy crust and soft chewy crumb. Here, I’m using a sourdough starter and a kick of dry yeast, which ensures good fermentation for that perfect texture. You can top it with whatever you want or leave it plain to be a versatile base for any sandwich you want to make for guests or just for yourself. It’s fine!
Baking tray (9X13 inches)

Autolysis: In a bowl, mix the flour and water (apart from 50 gr of water which we will use later on) until consolidation. Leave to rest for an hour covered with a plastic wrap.
Add the sourdough starter and a pinch of dry yeast, and fold it in the dough until the starter has incorporated in the dough. Add the salt and water from step 1 and knead until water and salt are incorporated into the dough.
Add the olive oil and knead until incorporated. Folds on the side of the bowl create a beautiful, smooth side facing up. Cover with a plastic wrap and let the dough to rest for half an hour.
From this moment, every 30 minutes, we will fold the dough. Between the folds cover the dough with a plastic wrap.
After 4 folds, cover the bowl with a plastic wrap and place in the fridge overnight.
The day after, oil the baking tray you will use for baking the focaccia with olive oil. Take the dough out from the fridge and let it rest in the bowl for 30 minutes before starting working on it.
Wet your hands and gently transfer the dough to the baking pan, with the beautiful side facing up. Cover and leave for half an hour.
After resting, lightly stretch the dough towards the corners of the tray, not pushing it, if it returns slightly to the center- let it rest for a couple of minutes and stretch again.
After the dough has spread on the entire tray, cover the dough and let it rest until it nearly doubles its volume. It will take a while, but let her grow on her own.
Half an hour before the dough finished proofing, when it seems to almost double in volume, preheat oven to 450F or 230C.
After the focaccia has proofed, oil your hands and drizzle olive oil generously on top of the dough. Make holes in the dough with your fingers. Pay attention! We want to get the fingers to the bottom of the dough, to prevent it from rising at these wholes we did.
Bake for 25-30 minutes.
YASSS!
Watch our tutorial


write your comment